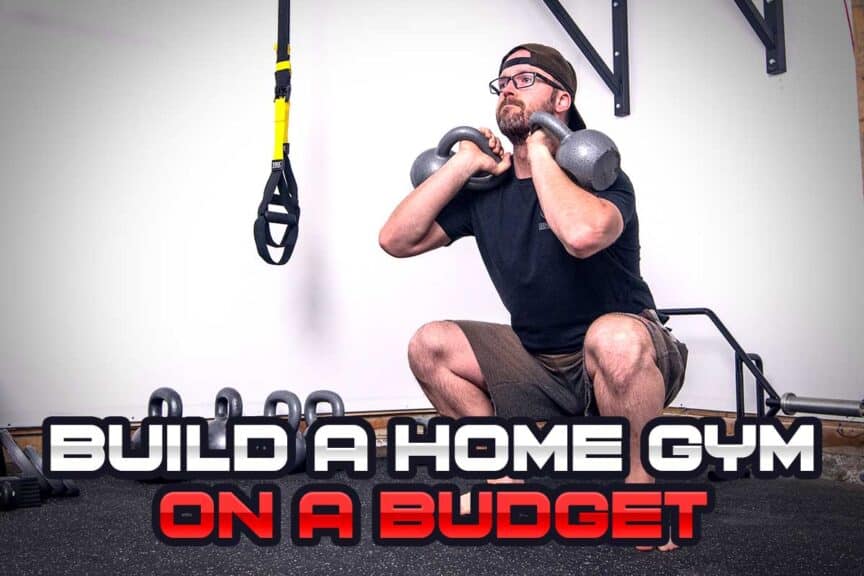
For some of us, having our own home gym is non-negotiable. Whether we’re tired of dealing with the general public within the local gym down the street, don’t have time to commute across town to get a public facility, or just want a place of our own where we can blare our own music while exercising, having our own home gym can solve a world of problems.
But if you’re anything like me, you might be on a shoestring budget. Fear not; in this article, I’ll show you all the steps I’ve taken to build a basic home gym setup to suit my needs. It can be done, and I’ll show you how.
Here’s the two-sentence rundown of what it takes to build an outstanding home setup while saving some serious coin in the process:
You can build an effective home gym on a budget by separating your wants from needs, researching your equipment options, knowing what to purchase first, buying used gear, selecting versatile equipment, and growing as you go. You can save a LOT of money this way and have all you need for working out.
It may sound all too obvious with these steps. Yet, I encourage you to read through each of these actions, as there are a surprising amount of golden nuggets contained within each section. After all, the only thing better than getting great workouts completed in your own home gym is knowing that you saved a significant amount of money on the equipment you’re using to become stronger and healthier.
So, let’s get to it!
Related content:
While I sometimes envy those who essentially don’t have a budget (or have one that’s simply massive), there’s something profoundly beautiful in being committed enough to building a home gym, even when money is incredibly tight; it signifies that I’m committed enough (as you are, too) to find a way to make this whole “home gym” thing happen one way or another.
So, be it a home gym in your basement, or one that’s out in your garage, my hat’s off to you for being determined enough to find a way to make this happen, and for being financially responsible in the process.
Friendly reminder: If you’ve built a home gym on a budget, I want to see it!! Please tag me in a photo on Instagram. It doesn’t matter how big, small, basic, or advanced it may be; if you’re proud of what you’ve built, I’d be honoured if you’d tag me – I get some serious inspiration from seeing what others have built for themselves.
Step 1: The “grow as you go mindset”
Assuming you’re on a tight budget and don’t have much cash to spend upfront, this is where we need to start. I’d advocate that you need to accept that you won’t have enough to purchase all your desired gear up front (assuming you still want to buy groceries, pay your mortgage, etc.). So, let’s talk about employing this mindset.
While it’s essential to have a vision of what you want your dream home gym setup to look like, you need to remember that getting it to where you want it to be will undoubtedly be a process and, ultimately, one that takes time.
As a result, it can be helpful to remind yourself that getting things up to your taste will likely need to unfold in phases (you’ll learn more about how to do this in step 2). Employing this mindset can not only save you from frustration but can also give you some serious motivation to keep working hard towards moving into the next phase of expanding your equipment repertoire or overall setup.
Pro tip: If you haven’t established a budget for building your home gym, I’d recommend doing so. Not only can it ensure you don’t exceed your available funds, but it can also help you determine what your first purchases will need to be, simplifying the overall gym-building process.
So, if you feel overwhelmed or are wondering, “how am I going to make this all happen?” (a question I have routinely asked myself over the past year or so), remind yourself that a financially responsible person will adopt a mindset that accepts this will be a process. Simple as that.
Step 2: Separate your wants from your needs
Now that you’ve accepted that a tight budget requires building the home gym if your dreams in stages, let’s talk about how we can help delineate each stage or phase.
Doing so can help ensure that you’re adequately addressing your training needs (allowing you to make your strength and conditioning gains) while not going over your budget in the process. Remember: you need to grow as you go.
For these sorts of scenarios, I often enjoy dividing the phases into three categories:
- The “must have” phase
- The “hope for” phase
- The “dream about” phase
Let’s quickly run through what each stage looks like, along with how and when to advance to the next phase.
Phase 1: The “must have” phase
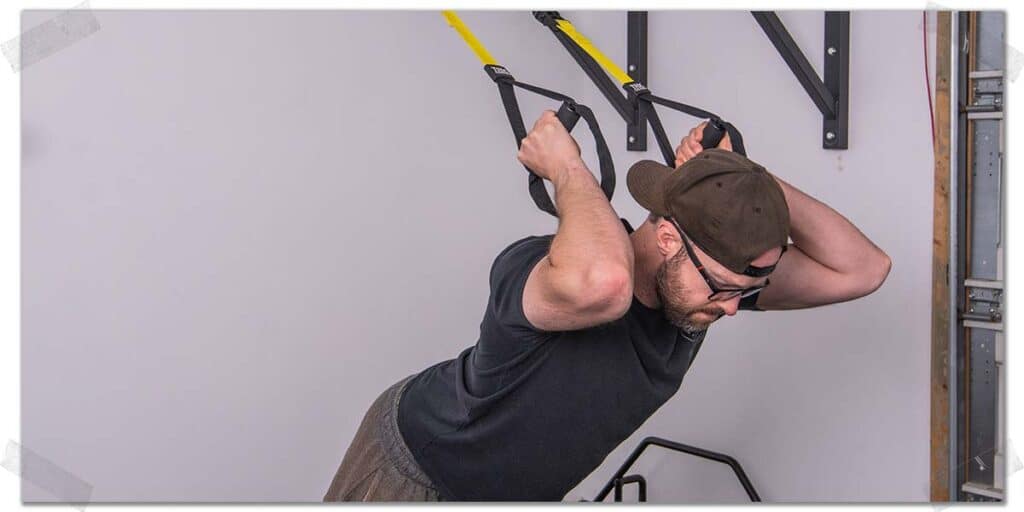
This is the phase where all of us on a tight budget start. It consists of getting your hands on the bare essentials to take care of your rudimentary training needs.
Keep in mind you’ll need to read the following steps in this article to make sure that you save as much money as possible when getting your hands on these essentials.
What this “essential” equipment looks like for you will depend on the type of home fitness or strength training you want to do. So, while I can’t tell you specially what these essentials will be for you, I can give you guidelines (assuming you’re interested in performing general strength training and conditioning routines).
Here are some guidelines to consider when determining what your bare-bone home gym essential equipment should be:
- Pieces of equipment that allow you to train and strengthen the body parts you’re most interested in developing. For most people who are on a budget, this will be traditional equipment such as dumbbells, a barbell with a few plates, a workout bench, etc. To get the most out of the equipment, you’ll want to pair it up with step 4 of this article. As such, it’s often the first equipment purchased for most home gyms.
- If you’re interested in performing any sort of conditioning training (endurance training, high-intensity interval training, etc.), a skipping rope will be your best friend; it will likely be the least expensive piece of conditioning equipment you’ll ever purchase while also being one of the most effective.
Presently, I find myself having acquired what I need for my “must” equipment phase; I can accomplish the vast majority of my strength and conditioning needs with my current garage gym training space, and now I’m slowly moving into the “hope” phase.
There are one or two smaller purchases I have yet to make, but they are the lowest of priorities for my training needs within this “essential” phase. Hopefully, it won’t be much longer before I’ve fully moved into phase 2!
“While it’s essential to have a vision of what you want your dream home gym setup to look like, you need to remember that getting it to where you want it to be will undoubtedly be a process and, ultimately, one that takes time.“
Phase 2: The “hope for” phase
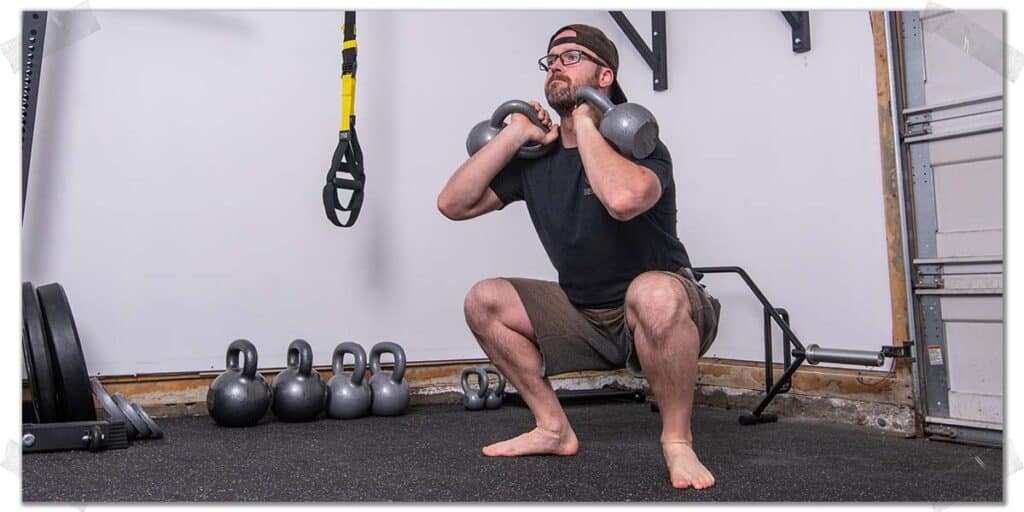
The “hope” phase is for the equipment you hope to one day obtain or the garage upgrades you’d like to make while still staying within the confines of a reasonable reality; it’s where you place the very practical but still financially out-of-reach equipment or garage gym upgrades.
In other words, this is the equipment that will still be integral to performing your ideal home workouts or functional upgrades to your garage that can drastically enhance session quality, but it might take another few paychecks to save up before you get there.
For many individuals, home gym equipment in this category could look like:
- purchasing a dedicated piece of cardio or conditioning equipment, such as a treadmill, rowing machine, air dyne bike, etc.;
- purchasing one or more specialty bars or barbells, such as a safety squat bar or trap bar;
- purchasing a cable tower for opening up a vast array of new resistance training exercises.
The thing to note here is these types of equipment purchases are still in alignment with the rules outlined in step 4 of this article, where they offer outstanding training versatility for a single purchase but are no longer considered “bare bones” essentials required to get the job done.
Additionally, purchasing these types of equipment can often (but certainly not always) cost a bit more than what you need to pay when compared to your “must” equipment.
When it comes to improving the overall garage setup, you’re not knocking down any walls or adding on to your space within this phase, but simple upgrades may be within your financial reach at this point.
If you’re looking to make some simple, functional upgrades to your garage gym, it could look like:
- Upgrading or installing better lighting (something I’m really hoping to do for my garage gym in the near future). Garages often have very inadequate lighting!
- Having an electrician install an extra power outlet in a more convenient spot so that you don’t have to run that extension cord across your garage to keep your treadmill plugged in.
- Installing a climate control device, such as a heater or air conditioning unit. This would likely be about as significant of an upgrade one would make to their garage before moving onto the third and final phase of building a garage gym. Still, it could certainly enhance training quality in your garage.
Phase 3: The “dream about” phase
This is the phase where you’ve climbed up to the top of the home gym mountain, slowly acquiring all other practical and required equipment along the way, or you are now in a notably improved financial situation. Whether it’s a year from now or ten years into the future, this is ultimately the phase we all strive for.
It may seem like a far-fetched possibility to get to this point, but that’s what dreams are all about! (I myself am still doing plenty of dreaming, trust me.)
In this phase, should you land within it at some point, you can responsibly afford to purchase equipment that might not be as critical to use for your training goals or equipment that you use rather infrequently.
It can also be equipment that is not overly versatile (where step 4 in this article no longer applies).
Essentially, in this phase, you’re very much out of the “tight budget” realm or have acquired every other piece of strategic equipment needed to fit your home exercise and fitness needs.
When it comes to upgrading the structure of your garage, again, anything goes since you now have the financial means to do so. Knocking down walls, installing a built-in sound system, adding additional space – anything goes so long as you stay within your now vastly improved budget.
Keep the grace gym dream alive as you work towards one day getting to this phase of your gym journey!
Step 3: Know your equipment options (do lots of research)
Before buying any equipment, you need to do your research, especially if you’re on a tight financial budget. This is for two critical reasons:
- To ensure you’re aware of the most beneficial and practical equipment for your needs;
- To ensure you’re getting the best deal on any equipment you’re looking to purchase.
More aptly put: it never hurts to be a more informed consumer. You don’t want to get ripped off on any purchases you make, and you don’t want to have buyer’s remorse after realizing you purchased a piece of equipment that isn’t as ideal as another similar piece or that it could have been had at a more cost-effective price.
Pro tip: Even if you’re currently just trying to build your “must” collection, starting the research process on any “hope” equipment certainly can’t hurt.
The best time to do your research is when you’re not in a rush to make any purchases (true for exercise equipment or anything else in life).
This is where it comes in handy to ask other home fitness enthusiasts for their opinions and knowledge on everything ranging from the best types or brands of equipment to consider, where to find good deals, and any other insight they might have on all things pertaining to equipment options.
If you’re not sure where to start, I’d suggest hopping into a Reddit subgroup, as there are plenty of knowledgeable individuals out there who could likely provide valuable insight.
Step 4: Go for versatile equipment (a big “bang for your buck”)
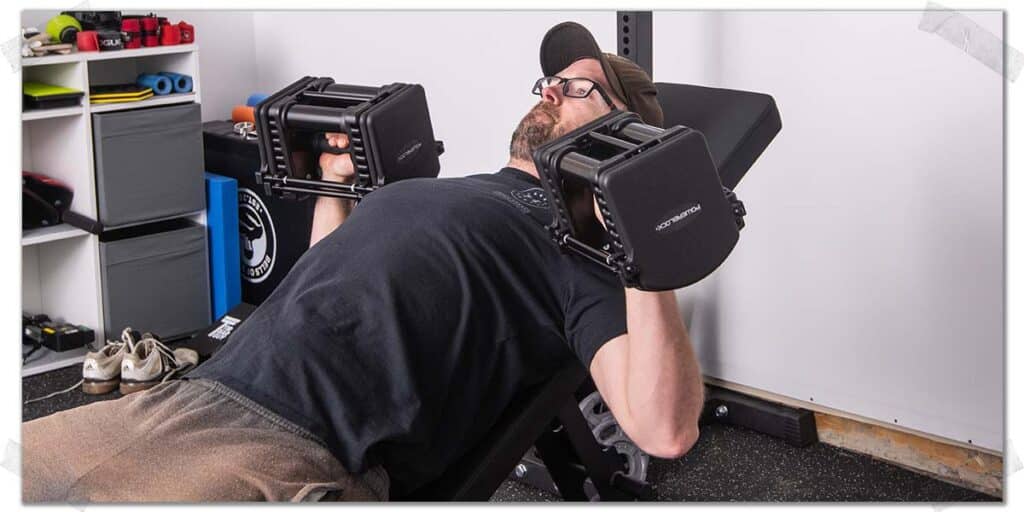
Since you’re on a budget, this step is non-negotiable (assuming you want to be financially responsible with your purchases). As alluded to earlier, you don’t have to follow this step once your financial situation has changed and you’re no longer on a shoestring or otherwise modest personal budget.
The greater the versatility of the gym equipment you purchase, the more training you’ll be able to perform without the need to purchase additional equipment. This, in turn, can save you a massive amount of money for building your home gym, if you do it right.
Although it does, to an extent, depend on your training goals, the equipment that offers the greatest home gym versatility is the “must have” basics, like your dumbbells. While a cable tower will offer decent resistance training variety, you’ll still have even greater variety with a set of dumbbells (assuming they are heavy enough).
Thankfully, the most versatile training equipment is most often also equipment that takes up the least amount of space, which is crucial for most home gym builders (if budget isn’t a limitation, available space almost always is).
Some of the most versatile training equipment to consider purchasing for a garage gym includes:
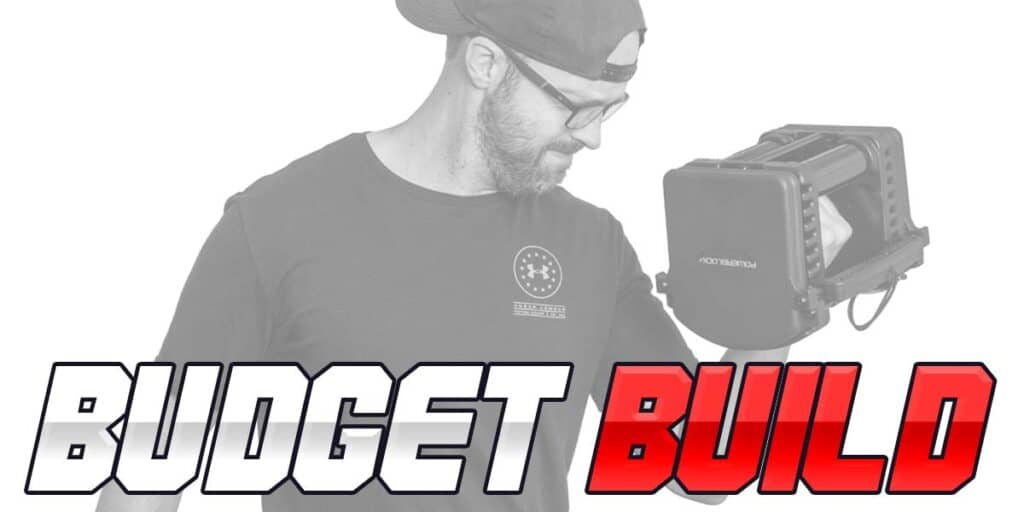
- A set of adjustable dumbbells (PowerBlocks are what I use, personally)*
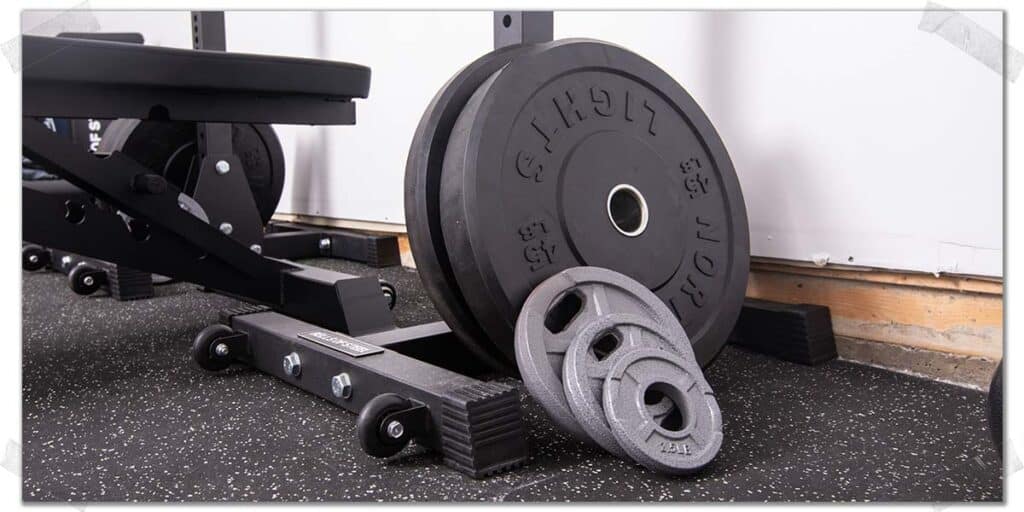
- A barbell with a set of plates
- A workout bench (can be used for much more than just lying down on when performing pressing exercises)
- A TRX suspension trainer
- Some light and medium-weight kettlebells
*While a set of adjustable dumbbells can be very expensive when you’re on a tight budget, in the long run, they will likely save you a lot of money (and space) over purchasing an entire rack of dumbbells. However, if this isn’t feasible or ideal for you, start with buying a few pairs of dumbbells. From there, you can continue to purchase more of them as time goes on or sell them when you’re ready to purchase a set of adjustable dumbbells.
Step 5: When possible, buy used (you can upgrade later)
This is one of those steps where way too many home gym enthusiasts on a budget miss out on massive financial savings. Even those not on a budget often mess this up.
Unless you’re absolutely obsessed with the aesthetics of your “must have” equipment (you shouldn’t be – you’re on a budget, remember?), buying used equipment should be considered your only option.
This may not apply to rather small purchases that only cost a handful of dollars, but for equipment like dumbbells, a barbell, plates, or a workout bench, used equipment is the way to go. Chances are, after a year or so of use, no one will ever even know you got your equipment secondhand.
Additionally, for pieces of iron such as plates, dumbbells, and kettlebells, you don’t have to worry about them breaking or no longer being usable due to some chips and blemishes – they’re pieces of iron and your muscles won’t know the difference between new and used.
Remember: In the early stages of building a home gym, your equipment doesn’t have to be pretty – it just has to work!
If you aren’t sure where to start looking for some secondhand gear, some of my suggestions would be:
- Local Facebook groups
- Craigslist (if you’re in the US)
- Kijiji (for those of us in Canada)
- Secondhand sporting goods stores, such as Play it Again Sports
Asking any friends, family members, or colleagues at work if they have any good leads can also be an effective strategy as well.
Remember: As your budget expands, you can always re-sell any of your equipment if you’re looking to upgrade what you currently have, which can significantly offset the overall cost of upgrading to newer or more premium equipment.
Step 6: First purchases (big kahuna or low-hanging fruit)
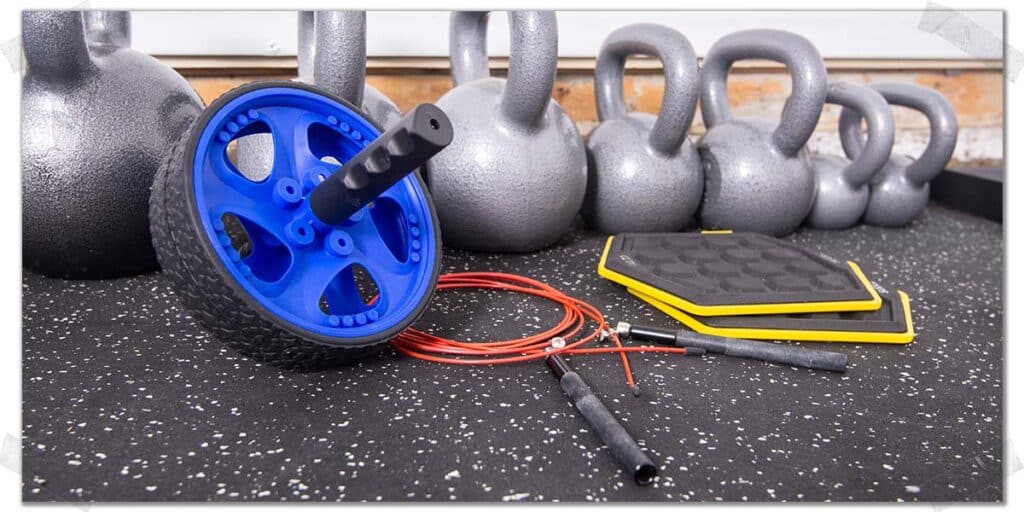
Once you know the types and specifics of any equipment you’ll need to get your hands on, you may find that there are multiple “must have” pieces of equipment that will be necessary to acquire in order to get the bare-bones of your home gym set in place.
Some of these fundamental pieces of equipment may be more expensive than others, but if you’re on a shoestring budget and these various pieces of equipment are all necessary to your setup, getting your hands on everything at the same time might blow your budget.
If this is the case, there are two options:
Option 1: Purchase the relatively more expensive piece(s) of equipment (dumbbells, a workout bench, etc.), leaving you with less money but perhaps more training options right off the hop.
Option 2: Purchase any lesser expensive pieces of equipment (skipping rope, yoga mat, stretching bands, etc.) that might keep some money in your bank account but perhaps might limit your strength training options (assuming you want to do more than callisthenics).
Neither option is wrong; you merely need to think about what you’d be happiest to do the most training with until you’re able to acquire the rest of your essential workout equipment.
When I started: My first purchases were a pair of light and medium-weight kettlebells. They set me back a bit (I had next to no money at the time), but I knew I’d be able to get a lot done with them, so that’s where I started.
Wherever you decide to start, you’ll make good things happen.
Final thoughts
Building the home gym of your dreams, no matter how basic or advanced, has to start somewhere, and for most of us, it starts on a budget. Don’t sweat it, though; it’s a process and one that should be fun. So, be smart about it, start with the necessities and grow as you go!
Frequently Asked Questions
To make this article as helpful as possible, I’ve included a few brief but insightful answers to commonly asked questions regarding working out at home on a tight budget!

Hi! I’m Jim Wittstrom, PT, DPT, CSCS, Pn1.
I am a physical therapist who is passionate about all things pertaining to strength & conditioning, human movement, injury prevention and rehabilitation. I created StrengthResurgence.com in order to help others become stronger and healthier. I also love helping aspiring students and therapists fulfill their dreams of becoming successful in school and within their clinical PT practice. Thanks for checking out my site!
